It seems that there is an added step when creating new Vendors. In the past, the Prop (property) List was auto populated by Yardi. It would take your property and add it to the list so you could see the new Vendor once you created it.
This is no longer the case. I am outlining the “Basic” Vendor creation steps. You will need to fill in more than I am, I just want you to see how to add your property to the Prop List.
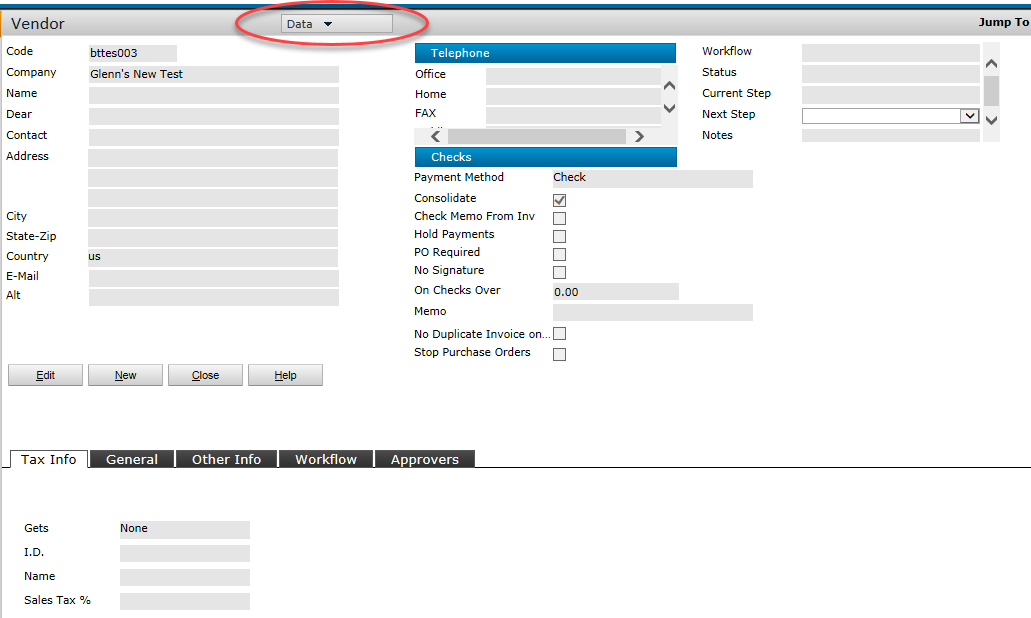
After saving the minimum amount of data to create a Vendor, you will get the “Data” pulldown at the top of the screen. Where you can choose the “Prop List”.
| You will see the “Data” Pulldown once you save the Vendor. If you leave this page before adding your Property to the Prop List, you will need to call Samantha or someone at the Corporate Office to add the Property to the Prop List for you. |
 |
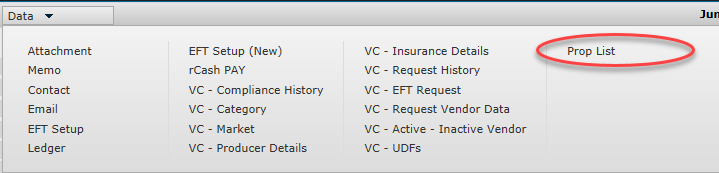
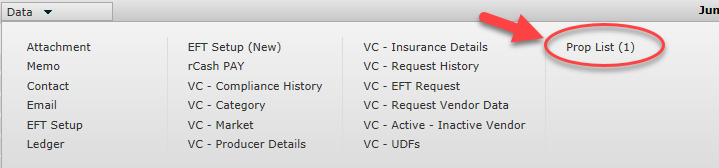
| Click the “Data” Pulldown and you will see the “Prop List” notice that it doesn’t have any numbers next to it, that means there are no Properties assigned to the Vendor. Click the “Prop List” link to add Properties. |
 |
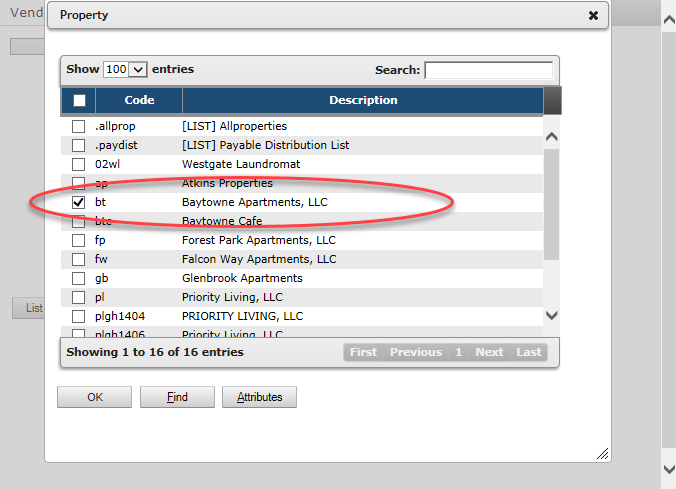
| Now you will see a listing of the currently assigned Properties, notice that it’s empty. Click on the “List Props” Button to select your property. |
| Select your property and click OK. |
 |
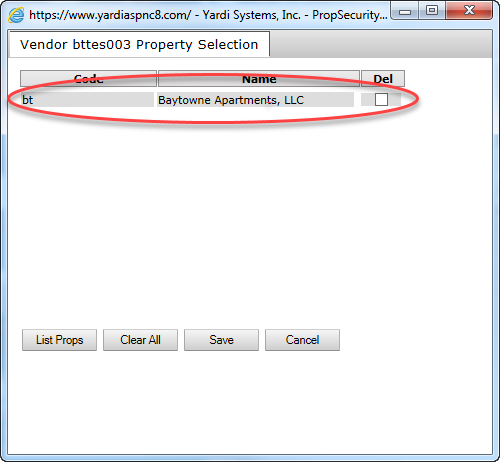
| You should see your Property in the list, Click Save. |
 |
| Now that you’ve added your property to the list, you should see Prop List (1). Your Vendor is now ready to use. |
 |