Category Archives: Microsoft

Outlook: Original e-mail are saved to drafts after reply or forward

The issue is that when replying to or forwarding e-mail causes Outlook to save a copy of the original e-mail in the Drafts folder…. This one was weird.

To fix it, go into the Options page by clicking on the file tab, then click options near the bottom of that page.

Then choose the Mail link at the left, scroll down until you find the Replies and Forwards section. Uncheck the first item, “Open replies and Forwards in a new Window”

Now, click OK on the way out and you should be good to go.

Outlook prompts to save original e-mail after forward or reply

So, Outlook is asking to save your original e-mail every time you reply or forward.
There is an add-in that causes this issue, it is call the Outlook Social Connector 2016.
Not everyone is seeing an issue with it, so if it isn’t causing an issue, leave it alone.

If you ARE having issues, do the following:

Click the File TAB at the top of Outlook

Then Click Options near the bottom of the page

Now Choose Add-ins, then click the Go button at the bottom of the page

From the Add-ins page, un-check the Outlook Social connector 2016, you may have to scroll down to find it.
Once un-checked, click OK on every page until you are out of the options panel. Close Outlook and then re-open it.

This problem should now be fixed.

Outlook 2019 Auto-Complete

Here are the steps to clear the auto-complete, or alternatively just turn off the auto-complete, completely.

Turning off or clearing Auto-complete:

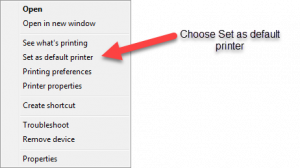
From within Outlook, click the File TAB. Choose the Options link near the bottom left of the window.

You should now have the Outlook Options window open.

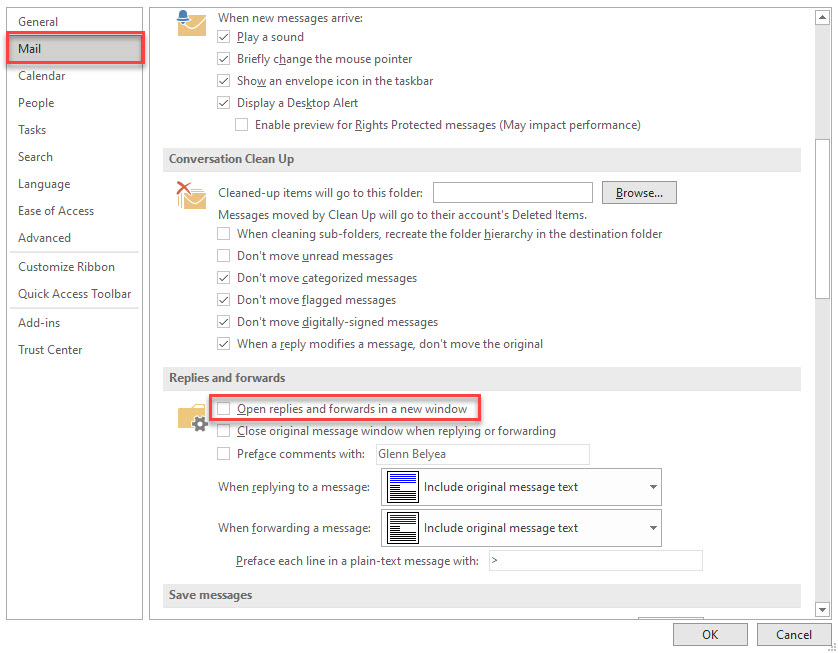
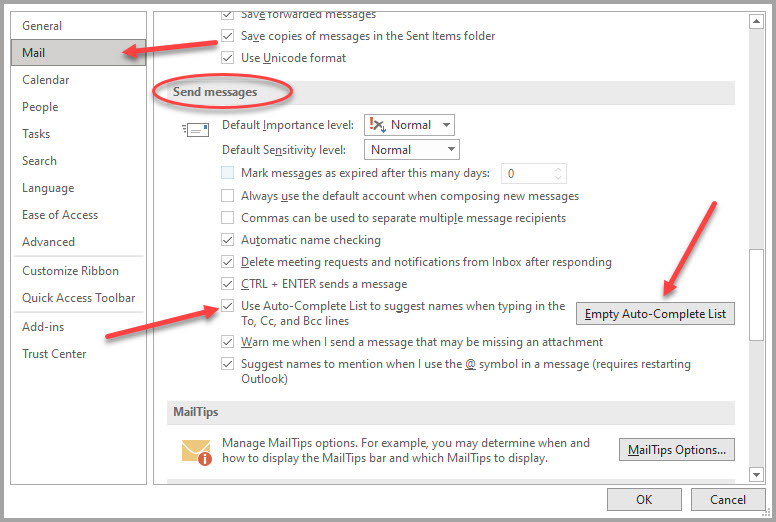
Click the Mail link on the left, and scroll down until you see the Send messages section.

If you want to turn off Auto-complete, uncheck the Use Auto-complete List.

If you just want to clear out what has already been saved, just click the “Empty Auto-Complete List” button, it will prompt you to decide whether you really want to clean the list or not.

If you turn off Auto-complete, remember, you will have to start typing a name then click the “Check Names” button to fill them in.

This will only work for addresses that are in your contact list, or the Global address book. With the Auto-Complete off, Outlook will not remember that you typed in Imaemailaddress@somedomain.com. You will have to type it in every time, or save it to your contacts.

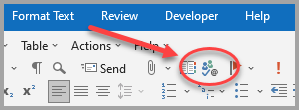
Once saved to your contacts, Outlook will find it by using the “Check Names” button shown below. It’s pretty small, so it can be a pain to find sometimes.

The button is in the Ribbon Bar of new messages.

Editing the Auto-complete list:

You can also delete individual addresses from the Auto-complete list.

In a new e-mail, start typing a name, the Auto-Complete list will pop up. If you see an address you don’t want in the list,

Use the up or down arrow until the address is highlighted, then use the delete button on your keyboard to delete the address.

Keyboard not working after upgrade from Win7 to Win10

I ran into an issue that I had seen previously but couldn’t remember the solution. After upgrading a users PC to Windows 10 from Windows 7, I could only get me test bench keyboard to work. My thought was that is was a PS/2 through USB adapter that was allowing it to work where other keyboards wouldn’t work.

After searching, uninstalling, bios updates, etc. I found this in the driver details. It sparked a memory of encountering this same problem previously.

I think the problem is caused by GDATA’s keyboard protection not being implemented properly after the upgrade.

To fix the issue, follow the directions below and search for kbdclass in the registry until you find the Upperfilters keys.

Next, remove any mention of GDKBB, it will look like this:

Here is it removed.

Keep searching to make sure there aren’t more entries, I typically find 2 or 3 that need to be changed. When done, reboot and any keyboard should now work.

Set default printer in Windows 10

From time to time I get asked the question: How do I change the Default Printer in Windows.

Here are the steps for Windows 10:

Click on the Windows “Start” icon in the lower left corner of your screen.

Then Click on  the Settings icon:

Choose Devices:

Next Click on Printers and Scanners, then scroll toward the bottom of this page and find “Let windows manage my default printer”, you need to Uncheck this option.

Next find the printer that you want to make the Default Printer, click it and then click the “Manage” button.

You will now see the option “Set as default”, click this button and now this will be your default printer. Once the default is set, close out of all the settings screens and your programs will now use this default printer.

Excel formulas not working properly

I recently had an issue where a user copied an old Excel Spreadsheet to create a new yearly file.

When the new file was opened and data was entered, they found that the formulas were not updating as expected. I tried re-creating the formulas with no luck. When I googled the problem I found the answer.

I’m not sure why this happened, but Automatic updating of formulas was set to Manual. Here are the steps to re-enable Automatic updating of Formulas. This is based on Excel 2010, but I am sure the setting is available on most version of Excel.

Open the spreadsheet with the problem, the select the Formulas tab at the top.

Then choose Automatic from the Calculation Options button on the far right.

Make sure to save the file as you exit.

I found the solution here:  https://www.ablebits.com/office-addins-blog/2016/02/03/excel-formulas-not-working/#excel-formulas-not-updating

There are other problems solved on this webpage too, so you might take a look.


Setting Default printer properties

… and getting it to stick.

Have you ever tried to set a setting for a printer and then it seems to go back to the way it was after closing the document you were working with? Well, this always seems trip people up.

When you make a change to printer settings inside of a document (Word, Excel, PDF, etc) the settings are only temporary. To make them stay the way you want them, you have to change the setting from the Printer Control Panel found by opening “Devices and Printers” either from the Start Menu program list, or the Control Panel.

Right click the printer where you want to make changes. Choose “Printer properties” about halfway down the list.